
Tenants
What this page is for
A tenant is a separate account on the platform, with its own users, assets, settings and billing. If you operate enSights on behalf of others — as a partner, an O&M provider or a distributor — this page is where those accounts are managed.
It is visible to partner and administrator accounts. Most single-organisation customers will never see it.
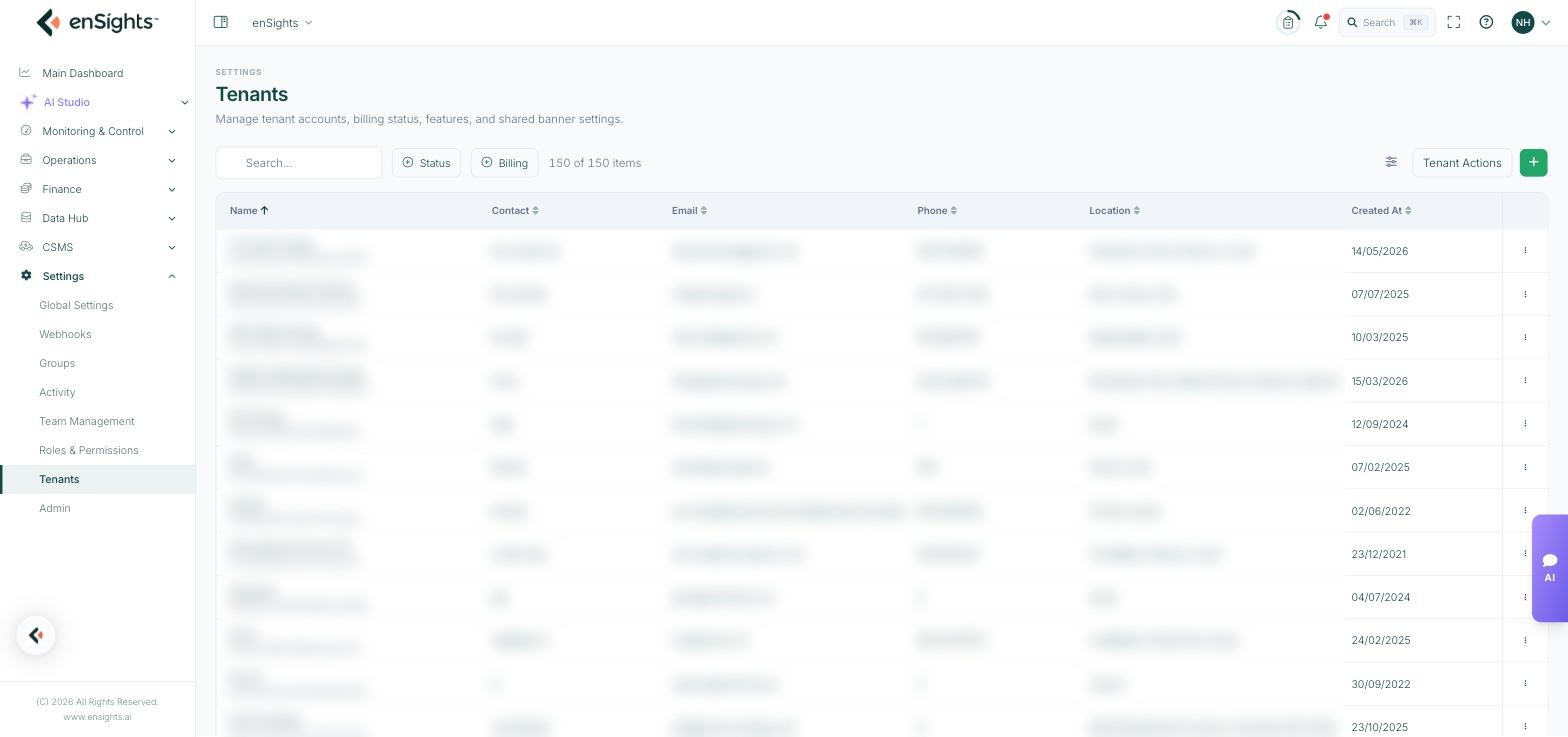
The list
Column | Meaning |
|---|---|
Name | The tenant name, with its internal identifier beneath. Quote that identifier when raising support. |
Contact | The primary contact person. |
Their contact address. Can hold several, comma-separated. | |
Phone | Contact number. |
Location | The tenant's address or country. |
Created At | When the tenant was created. |
Above the table: a search box, Status and Billing filters, the tenant count, a column-settings button, Tenant Actions, and the + button that creates a tenant. Each row has a three-dot menu with Edit and Delete.
Tenant Actions: the shared banner
Tenant Actions opens All Tenant Settings, which configures one thing: a banner shown inside tenant portals.
- Banner Active — turns the banner on.
- Banner text — a rich-text editor with formatting, lists, colour, links and images.
- Tenant selection — a searchable, checkbox list of every tenant, with Select all and Unselect all. Only the tenants you tick receive the banner.
This is how you announce planned maintenance, a release or a service issue to many tenants at once. Press Save Changes to apply, or Close to discard.
The tenant editor
Choosing Edit on a row opens the tenant with four tabs.
General
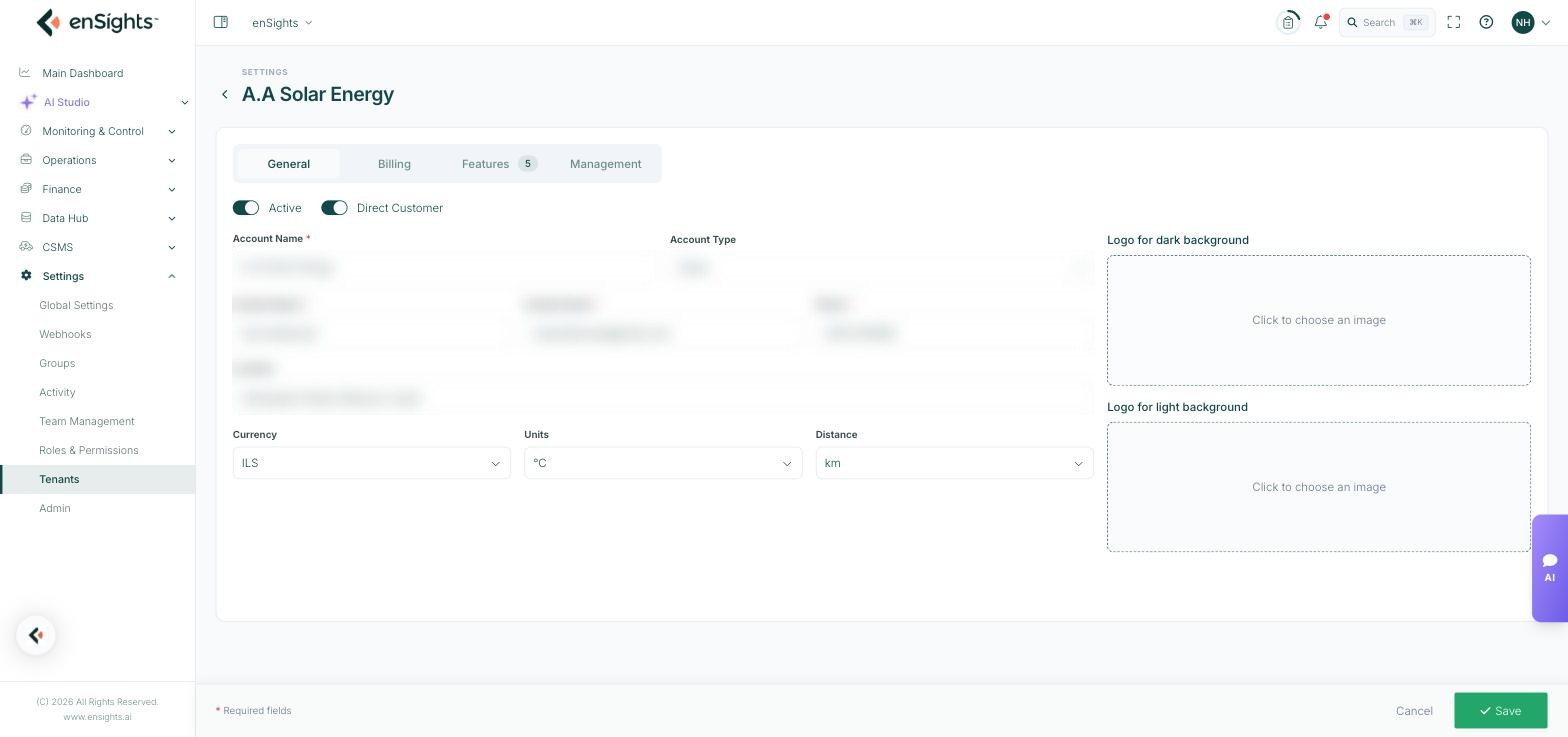
Two toggles at the top — Active and Direct Customer — then the tenant's identity and display preferences: Account Name, Account Type, Contact Name, Contact Email, Phone, Location, and the display choices Currency, Units (°C or °F) and Distance (km or miles). On the right, upload slots for a logo on a dark background and a logo on a light background — fill both, or the logo will be invisible in one of the themes.
Turning Active off disables the tenant without deleting it. That is the reversible option; Delete is not.
Billing
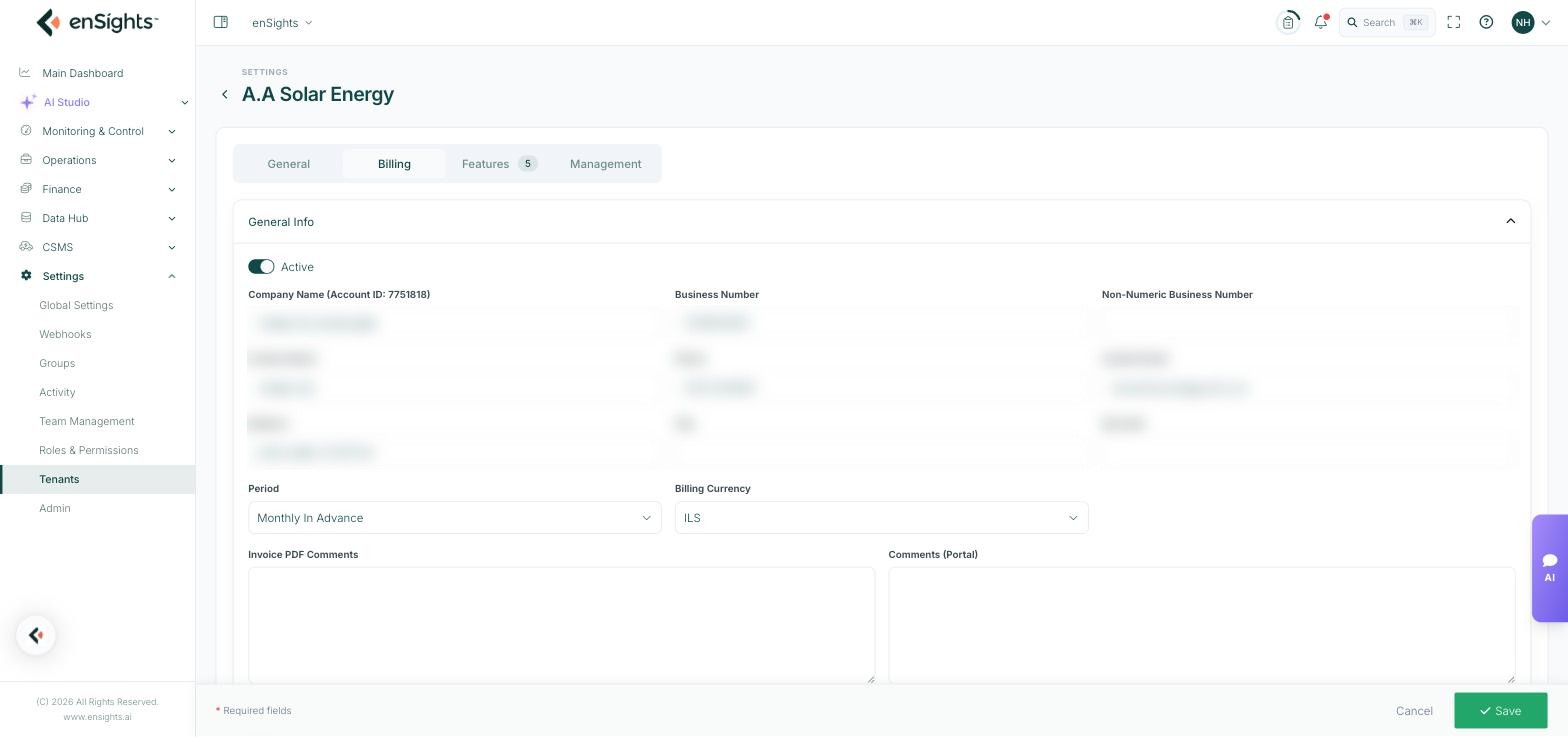
Opens on General Info, with its own Active toggle and the invoicing identity: Company Name (with the account ID shown in the label), Business Number, Non-Numeric Business Number, Contact Name, Phone, Contact Email, Address, City and Zip Code, plus Period (for example Monthly In Advance) and Billing Currency.
Two free-text areas follow: Invoice PDF Comments, printed on the invoice document, and Comments (Portal), shown in the portal only.
Below are three collapsible charge sections — PV Charges, Storage Charges and Additional Charges. Each PV or Storage section has a Billing Type of Per 1kWp, Fixed or Per Asset, and a Split by Group option so one tenant's charges can be broken out by group on the invoice.
Features
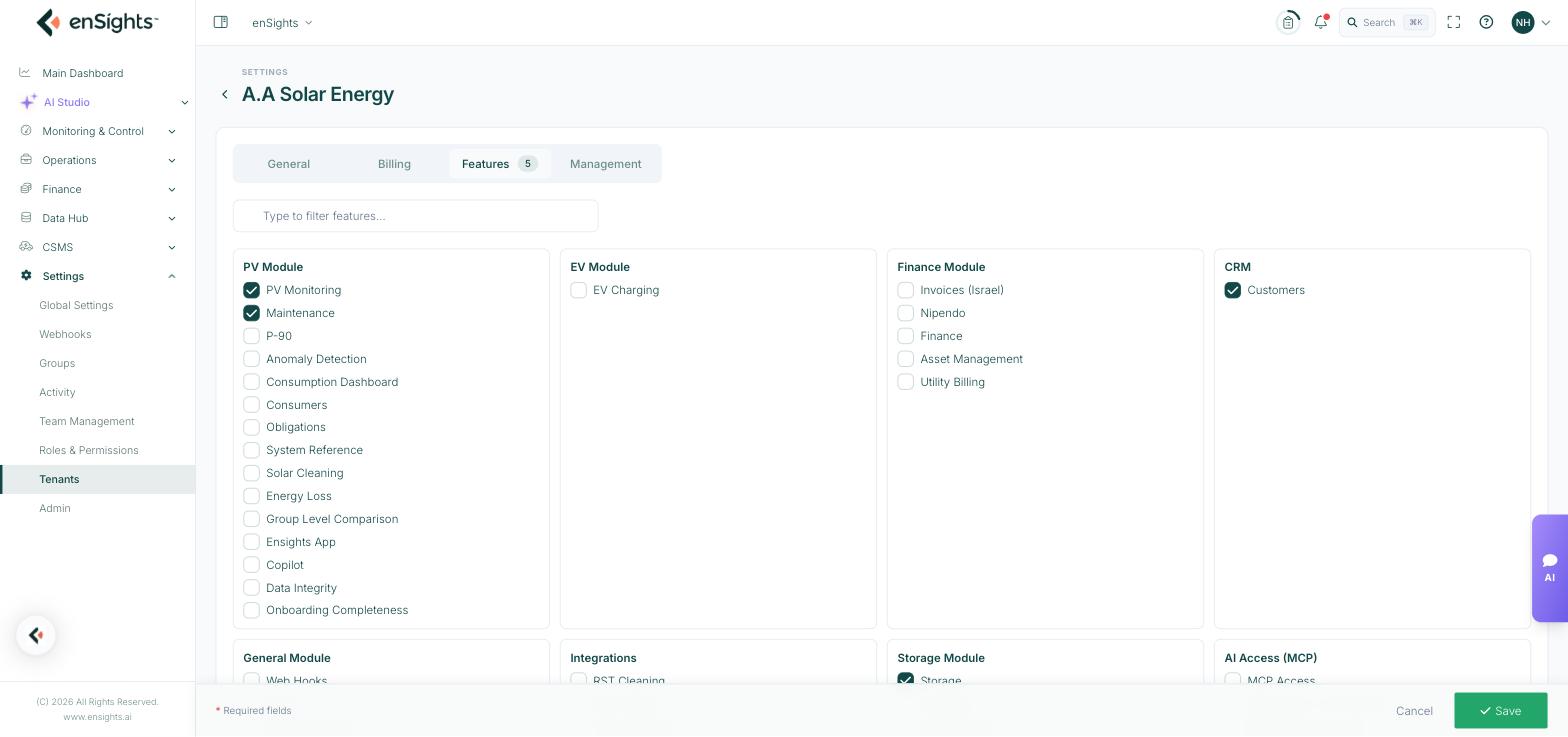
The feature switchboard — which parts of the product this tenant has. A filter box at the top helps in a long list, and the tab header shows how many features are enabled.
Features are grouped into panels: PV Module (PV Monitoring, Maintenance, P-90, Anomaly Detection, Consumption Dashboard, Consumers, Obligations, System Reference, Solar Cleaning, Energy Loss, Group Level Comparison, Ensights App, Copilot, Data Integrity, Onboarding Completeness), EV Module, Finance Module (Invoices, Nipendo, Finance, Asset Management, Utility Billing), CRM, General Module (Web Hooks, Audits, Qlik, AI, ChatBot, Day Ahead), Integrations (RST Cleaning, Tigo Energy, Thermal Report), Storage Module (Storage, Calculator, Discounts, Availability Adjustment), AI Access (MCP) and Misc. (Fleets, Inventory, Heat Pumps, Generators, Circuit Breakers, Plans, White Label, Dynamic Forms, AI Form Authoring, Windy Maps, Reminders, Insights Auto Refresh).
At the bottom, Compound System ID Migration lists monitoring vendors — solaredge, enphase, hoymiles, alsoenergy, sungrow, growatt, fimer, neteco, solectria, solarlog, sma, satec — and records which have been migrated to compound system IDs for this tenant. Leave this alone unless enSights support asks you to change it.
Management
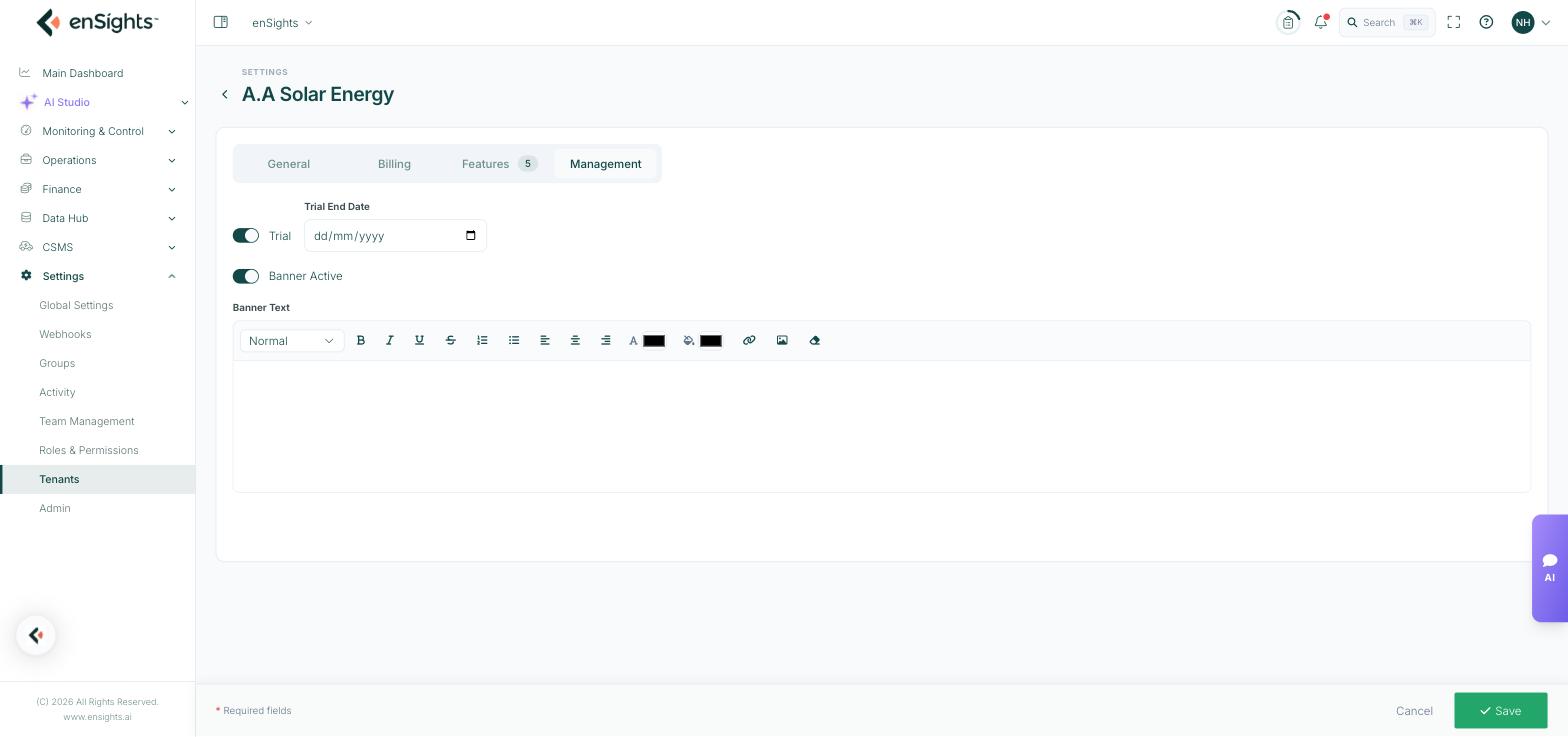
Three controls: a Trial toggle with a Trial End Date, and a Banner Active toggle with rich-text Banner Text — the same mechanism as the shared banner, but for this tenant alone.
How to create a tenant
- Go to Settings → Tenants.
- Press the + button.
- On General, enter the account name, contact details, currency, units and distance, and upload both logos.
- On Billing, enter the invoicing identity, period and currency, and configure the charge sections.
- On Features, enable only what the tenant has bought.
- On Management, set the trial end date if this is a trial.
- Press Save.
Notes
- Features gate what a tenant sees. If a customer reports a missing section, check this tab before anything else — it is more often a disabled feature than a permission problem.
- Deactivate rather than delete. Deleting a tenant is permanent and takes its configuration with it.
- Units and currency here affect how that tenant's users read every figure. Get them right at creation.
- Changing billing type or period changes what the tenant is invoiced. Agree it commercially first.
- Watch trial end dates — a trial that lapses unnoticed is a customer locked out on a Monday morning.